Online shopping for a backpack is tough. How will it fit? Is it large enough, light enough, and have the right type of pockets for me? All of these are important questions. In this review, we focus on the critical components of an exceptional pack. We compared the top models on the market and figured out each pack’s strengths and weaknesses in the following categories: comfort and suspension, weight, organizational systems, and adjustability.

Every model we tested is different; some have adjustable features for maximum versatility, and some are created to fill a niche. We tested models that work best for fast and light backpacking and others that can haul a heavy load like it’s nothing. If you want lots of pockets to organize your gear into or a sleek look with minimal gear stored out of the main compartment, we tested all of these.
Backpacking Styles
No backpacking style is better than another, but there are packs that suit your style better than others. Consider if you’ll be taking single overnights, weekends, or weeklong trips. If you’re thru-hiking a long trail, prioritizing lighter weights might be more important to you than if you plan to stick to shorter trips. Those who will haul heavy loads for climbing expeditions or guiding should focus more on comfort, padding, and capacity. Each is unique to personal style and geographical parameters.
Leisure
Some hikers prefer to stop and smell the roses; they move slow and steady and don’t focus on covering a lot of distance. This style of backpacking is leisurely and typically allows plenty of time for photography, swimming in lakes, and rest time around camp. There is less concern for lightweight, compact gear, and this hiker can afford to carry an extra pound or two in exchange for added comfort.
This specific style covers shorter distances per day and typically enjoys shorter length trips overall. Features that will be most important will be the pack’s comfort with heavier loads and capacity if you like to bring everything but the kitchen sink on your backpacking glamping rambles. A lower priority might be quick access pockets that allow you to get to your gear while still wearing the pack since breaks can be frequent and leisurely.
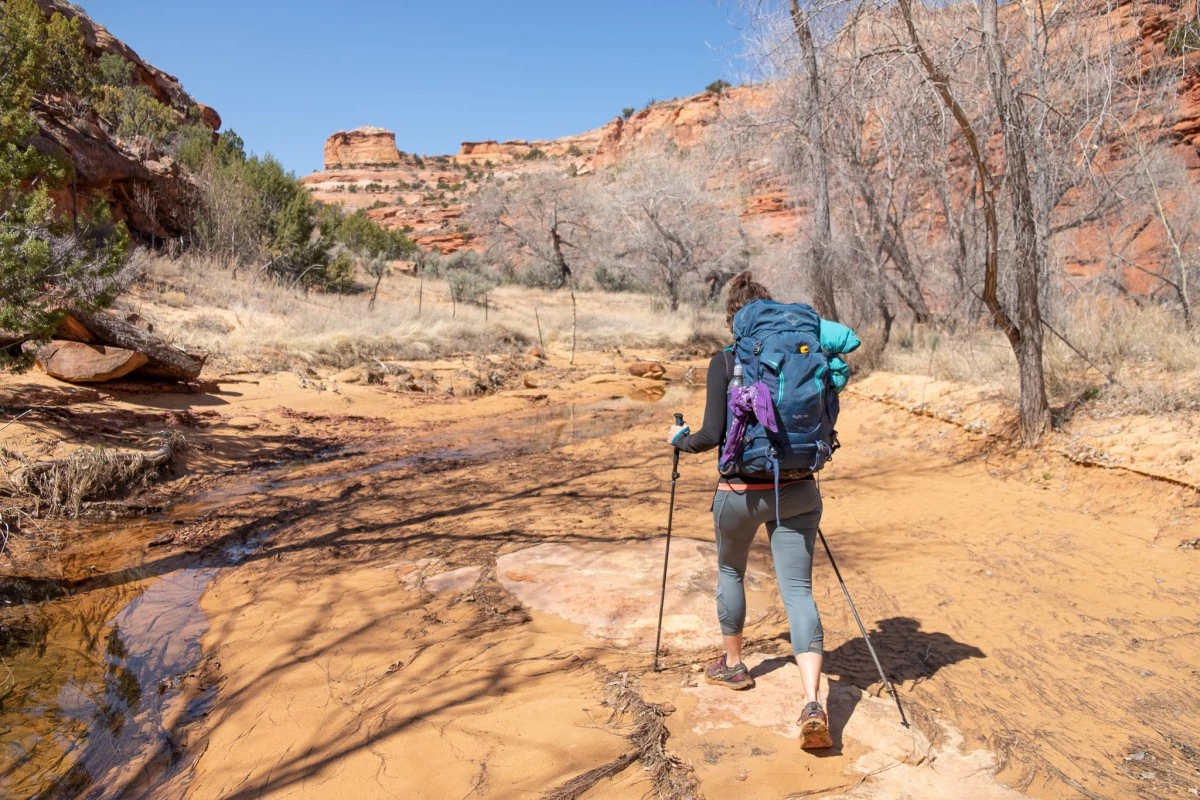
Light and Fast
If you are primarily concerned with weight and your ability to cover distances quickly, you fit into this category of backpacker. This hiker may sacrifice some luxuries in the name of carrying a lighter-weight pack and less gear. Whether hiking 75 miles in 5 days or 2,000 miles in 5 months, this hiker pays the most attention to cutting down on weight and optimizing suspension to remain comfortable and unrestrained for going the distance. On-the-go pockets that allow this hiker to access gear and snacks without stopping are a top priority, so you can down a lot of calories without reducing your pace. Thickly padded hip belts and shoulder straps can be eschewed in favor of trimming ounces. Lighter loads won’t need the padding as they don’t put as much pressure on the body.
Thru-Hike
Then there are thru-hikers, who cover enormous distances over weeks to months, usually hiking continuously from the start to the finish of a particular trail. Similar to the light and fast style, the thru-hiker is typically very conscious of gear weight. This style requires more preparation and planning than a leisurely trip or even a weeklong trip. Thru-hikers tend to seek simplicity and durability with great suspension, as the packs will be used day in and day out for an extended period.
You might identify with one of these styles or even a combination, but by defining your style and priorities, you can narrow your options down by size, weight, and organizational needs.
Seasons, Climate and Environment
Most backpackers find that the summer months offer prime backpacking conditions with extended daylight hours and warmer temperatures. For those backpackers extending their hiking season to three or four seasons, consider the features you will need to be comfortable. The bulk of warmer sleeping bags and extra layers calls for a larger capacity pack than one used solely for mild weather travel.
Pack Capacity
A simple internet search will prove that the recommended capacity for different trips length varies greatly from one source to another. The reason for this is that personal style, budget, and in which decade the recommendation was written all impact how much space you need for your gear.
You will fill the space you have. Err on the smaller side when selecting a pack.
If you are carrying gear bought during the Reagan administration and are heading out for seven days in the Sierra in April, your needs are going to vary significantly from the techy gearhead, putting in 30-mile days in 70-degree weather who can tell you how many grams her sawed-off toothbrush weighs.
Most folks are going to fall somewhere in between these two extremes, and a good starting point is around 45 liters for weekend trips, 60 liters if you want to be able to stay out for 4-5 days, and 70 liters for week-long expeditions. Use that as a loose starting point. Don’t hesitate to take all your gear in to your local outfitter and pack up a few packs to get a better idea of your needs.
Sizing and Fit
It’s a common misconception that your pack size is related to your clothing size. The only determinant in pack size is the length of your torso. If your pack has separate sizing for hip belts and shoulder straps, these will relate more closely to your clothing size.
The most important step in sizing is measuring your torso length. Any experienced pack fitter at an outdoor store can quickly measure you with a specialized ruler, but it can also be done at home. Take a flexible measuring tape: measure the distance from your C7 vertebrae straight down to the height of your iliac crest.
The C7 vertebra is the most prominent bone at the back of your neck. To locate it, tilt your head forward and feel around. Find the iliac crest by placing your hands on your hips at the top of your pelvis, with your fingers in front and your thumbs towards your back. Imagine a line drawn between your thumbs; that’s the iliac crest height you want to measure from. It’s also where the center of your hip belt should rest. Your torso length will determine which size you order.
Sizing methods vary from brand to brand. Some packs come with an adjustable torso length, and others are purchased by size. Our women’s specific review notes the available sizes for each pack we reviewed.
The second step in sizing is to determine your hip belt size. The hip belt of your pack should wrap around the iliac crest. Check to see if you placed it correctly by standing with the hip belt on and lifting one leg to a 90-degree angle like you are marching. The hip belt shouldn’t interfere with your thigh. Some packs offer interchangeable hip belts so you can choose the size that fits you best, while others have an extendable hip belt with an extra slide-out section of the padded belt.
The hip belts of many of the lighter-weight pack are of a fixed length. With this style, you may not be able to get the padding to wrap around your iliac crest, depending on your size. Consider whether the webbing extending off the padded section will dig into your skin when fully loaded. Wider webbing is more comfortable, while 1″ webbing is painful on some.
If considering an Osprey pack, Osprey has a comprehensive fit guide for their backpacks.Once you select a size, it is essential to adjust it to your back while weighted.
- Begin by loading the pack with 15 or so pounds.
- Loosen all of the straps before putting the pack on.
- Saddle up with the loosened straps and lean forward so the pack is sitting on your back and not sliding down your butt.
- Tighten the waist belt first; it should wrap around your iliac crest. A woman’s pelvic girdle is where a majority of the weight load should fall. Tighten this hip belt enough to just support this weight.
- Once the waist belt is resting properly on your hips, tighten the shoulder straps. The shoulder straps will ideally follow the natural curve of your shoulder from top to bottom. Tightening too much will cause the hip belt to lift off your hips.
- Next, tighten the stabilizer straps that connect the top of the shoulder strap to the top of the frame. There should be two load lifter straps, one on either side. A common mistake is to tighten these too much, causing the wearer to feel more pressure from the front of the shoulder straps.
- Lastly, tighten the sternum/chest strap, which connects the two shoulder straps across your chest. This strap should be adjusted so that it doesn’t rest too high towards the neck or too low across your bust. Armpit height or just above seems to be about right for most people. The sternum straps should pull the shoulder straps inward to relieve any chafing on your inner arms. They should also shift the overall pack weight into your hips by reducing shoulder pressure.
When you get on the trail, you may find that regularly adjusting the stabilizer (aka load lifter) straps helps account for terrain changes and as your pack weight changes and you move the contents around. The load lifter straps move the backpack’s bulk closer to your body to create stability or move the load away from your body to shift the weight load.
Only after you’ve nailed the adjustments can you determine if a pack is a good fit. It should be comfortable under a load, with very little pressure on the shoulders and most of the weight on your hips. It should pad well with no pressure points on the shoulders and hips, the length should match your torso well, and it should fit comfortably with no pain points. Once out on the trail for a day, you are likely to experience some tenderness from even the best-fit pack, but you shouldn’t feel discomfort when just trying them on. Walk around when you size a pack. Take the stairs if possible. Do squats, lift your legs high, walk with trekking poles, climb over a bench — do anything that will give you a feel for how the pack moves over uneven terrain.
Sizing and fitting a pack if you are new to backpacking can be confusing, and the wrong measurements or placement of straps can lead to an uncomfortable or downright painful trip. If it’s your first pack, a professional fit can go a long way to teach you how to feel for the right fit. Outdoor retailers are an excellent resource to assist you in sizing and fitting.